Avoid These 11 Common Seed-Starting Pitfalls

Common Seed Starting Mistakes
Post Updated 1/2/26
Starting seeds indoors is one of the best ways to kick off your garden season—but it’s also where a lot of beginners get discouraged fast. One week you’re feeling like a plant parent, the next you’re staring at trays that won’t sprout, seedlings that flop over, or tiny stems that look more like noodles than plants.
The good news: most seed-starting “fails” come down to a handful of predictable mistakes (and they’re easy to fix once you know what to look for). Below are the most common ones I see—plus simple, practical ways to avoid them—so you can grow sturdy, healthy seedlings and head into spring with confidence.
The items listed are accompanied by affiliate links, meaning I earn a small commission if a purchase is made through my links. This has no impact on the cost to the consumer. I link to products this way whenever possible, and it has no bearing on the products I choose to review or recommend.
Mistake #1: Ignoring Seed Needs
One of the quickest ways to sabotage seed starting is assuming all seeds behave the same. They don’t. Some seeds are basically “plant and forget,” while others need one or two extra steps before they’ll sprout at all. If you skip those steps, you can do everything else right and still end up staring at empty cells, wondering what went wrong.
Common examples: certain flowers and perennials may need a pre-chill period (cold stratification), some seeds benefit from a quick soak, and a few need their seed coat lightly scratched (scarified) to let moisture in. It’s not complicated—but it is specific.
Tip: Read the seed packets carefully. They're packed with information tailored to each plant's needs.

Mistake #2: Planting Too Early or Too Late
Timing can make or break seed starting. If you start too early, seedlings can outgrow their containers, get stressed indoors, and become harder to transplant successfully. Start too late, and you may miss the window for a strong harvest—especially for crops that need a longer season to mature.
Tip: Research the ideal planting times for each type of seed and mark your calendar. Patience is a virtue that reap bountiful rewards!
RELATED: Starting Seeds Indoors: A Beginner's Guide to Success
Mistake #3: Incorrect Soil
Seeds don’t need “rich” soil—they need the right soil. Heavy garden soil (or leftover potting soil with chunks of bark) can compact in small cells, which limits airflow and makes it harder for tiny roots to spread. It can also hold water unevenly, setting you up for problems like slow germination, weak root systems, and seedling diseases.
Tip: Opt for a light, sterile seed-starting mix designed for germination. It holds moisture without getting soggy, drains well, and has a fine texture that lets delicate roots grab on fast. For even better results, pre-moisten the mix before filling trays so it’s evenly damp—not muddy—right from the start.
Mistake #4: Incorrect Seed Depth
Seed depth is a small detail that has a big impact. If seeds are planted too deep, they can run out of energy before they ever reach the surface. If they’re planted too shallow, they may dry out quickly or struggle to anchor their first roots, which can lead to uneven germination and weaker seedlings.
Tip: Use the seed packet as your rulebook. If you want a quick backup guideline, plant seeds about 2–3x as deep as the seed is wide—but always defer to the packet for tiny seeds (many do best on the surface) and larger seeds that need a little more coverage.
RELATED: Plant Smarter, Not Harder: Starting Cucumber Seeds Indoors the Easy Way
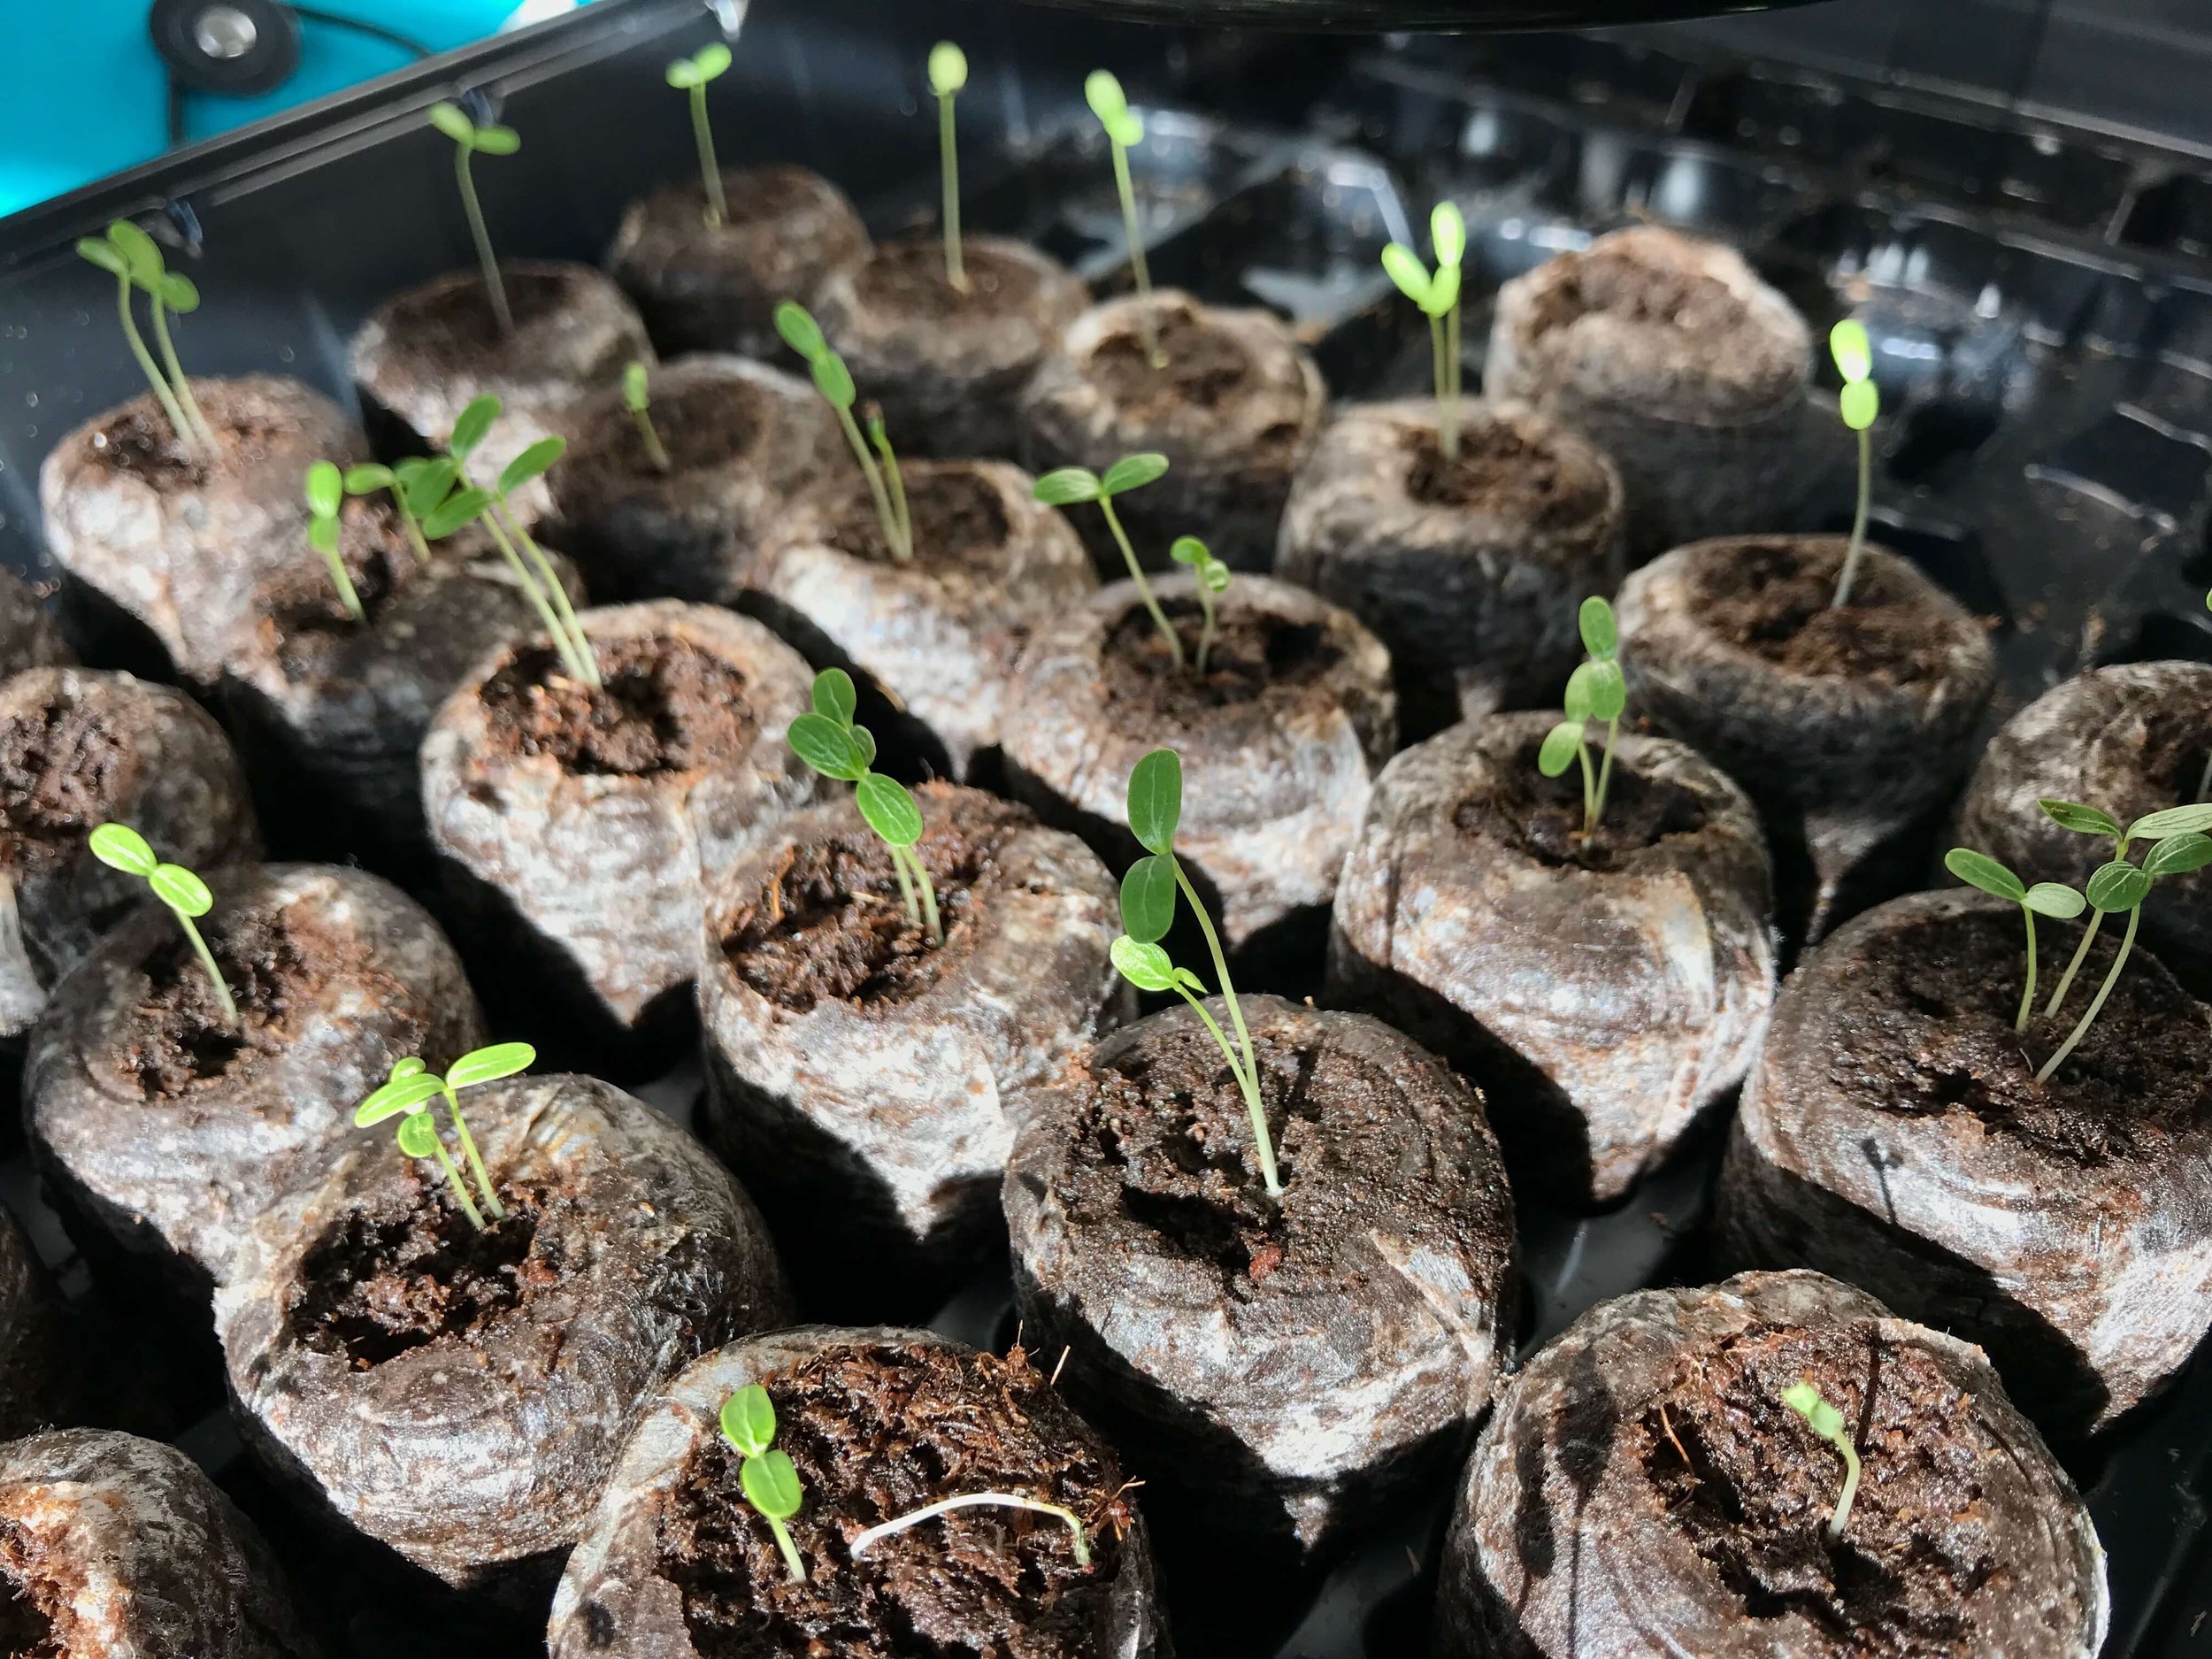
Mistake #5: Overcrowding Seeds
It’s so tempting to sprinkle “just a few extra” seeds into each cell—until they all sprout. When seedlings are crowded, they compete from day one, which slows growth and makes them stretch and tangle together. It also reduces airflow, meaning trays stay damp longer and problems like damping-off and mildew show up fast. And when roots intertwine, separating seedlings later can damage the ones you actually wanted to keep.
Tip: Aim for 1–2 seeds per cell (depending on germination rate) and plan to thin early. If both sprout, snip the weaker seedling at the soil line instead of pulling it—this protects the roots of the seedling you’re keeping and helps it take off.
Mistake #6: Overwatering or Underwatering
Water is non-negotiable for germination—but the wrong amount is one of the fastest ways to lose a whole tray. Soil that stays too wet invites fungus, algae, and “damping off” (when seedlings suddenly collapse at the stem). On the flip side, if the mix dries out—even once during germination—some seeds stall completely or sprout unevenly, leaving you with patchy, weak starts.
Tip: Aim for soil that feels like a wrung-out sponge: evenly moist, never dripping. Mist the surface to avoid washing seeds around, and water from the bottom when you can (set trays in a shallow pan for a few minutes, then drain). Check daily—seed-starting mix can go from perfect to dry faster than you think.
Check out this Seed Starter Cheat Sheet on Etsy!
Mistake #7: Improper Temperature Control
Temperature affects how quickly (and how evenly) seeds germinate—and it’s a big reason trays can sit there doing “nothing” for days. Many beginners put seed trays in a chilly room or on a cold windowsill and wonder why germination is slow or patchy. Then, after sprouts appear, keeping them too warm can lead to soft, weak growth. The goal is steady conditions: big swings stress seedlings and can stall growth.
Tip: Aim for 65°F–75°F for most common seeds, and focus on consistent warmth during germination. A seedling heating mat can make a huge difference if your room runs cool. Once most seeds have sprouted, remove the mat (or lower the heat) and keep seedlings out of drafty spots and away from cold glass to avoid temperature whiplash.
RELATED: Cultivate Success: The Ultimate Guide to Growing Parsley Indoors
Mistake #8: Inadequate Light
Sunlight is the best light, but it's not always enough when you're starting seeds indoors. Seedlings stretching towards a distant window often become leggy and weak. Most seedlings need about 14–16 hours of bright light per day to grow stocky and strong (and then 8–10 hours of darkness so they can “rest”). If you can’t give them that with a sunny window, a simple grow light makes a huge difference.
Tip: Supplement natural light with grow lights placed a few inches above the seedlings, adjusting the height as they grow. This ensures robust and sturdy plants.
RELATED: The best grow lights for tomatoes
Mistake #9: Neglecting Hardening Off
Seedlings that have lived their whole life indoors aren’t ready for full outdoor conditions overnight. Inside, they’ve had stable temperatures, gentle airflow, and filtered light. Outside brings intense sun, wind, cooler nights, and bigger temperature swings—so if you move seedlings straight into the garden, they can scorch, wilt, or stall out from stress (even if the weather seems “nice”).
Tip: Harden off slowly. Start with 1–2 hours outdoors in a sheltered, shady spot, then increase time and brightness a little each day over 7–14 days. Avoid windy days and harsh midday sun at first, and bring plants in if nights dip too cold. By the end, they should tolerate full days outside and be much less likely to flop when you transplant.
Mistake #10: Lack of Ventilation
Seedlings need airflow for the same reason they need light and water: it keeps them healthy and sturdy. When air sits still around trays, moisture lingers on the soil surface and leaves, creating the perfect conditions for mold, fungus, and damping off. Plus, without any movement, seedlings don’t “work” to support themselves—so stems stay thin and floppy.
Tip: Introduce a gentle breeze with a small fan placed near your seedlings for a few hours each day. This mimicked natural wind not only helps reduce the risk of disease but also encourages stronger, more resilient plant growth. Remember to keep the fan on a low setting to avoid stressing the plants.
Mistake #11: Impatience
Gardening teaches patience the hard way—especially when you’re starting seeds. A common beginner mistake is assuming something went wrong just because nothing has popped up yet, and then overwatering, replanting, or tossing the tray too soon. The truth is, seeds don’t all run on the same clock. Some sprout in a few days, while others take their sweet time and may need a couple of weeks (or more) before you see anything above the soil.
Tip: Check the expected germination window on the seed packet before you plant, and write the date you sowed right on the tray. Keep a quick note of what you planted and when, so you’re not guessing. Then focus on consistent care and give seeds the full time they’re known to take before you decide anything “didn’t work.”
Armed with the knowledge of these common seed starting mistakes, you can navigate your gardening season with confidence.
Remember, gardening is a journey of learning and discovery. Mistakes are stepping stones to mastery. Every seed you plant is an opportunity to grow—not just plants, but your skills and confidence as a gardener.
Share this guide on social media to help fellow rookie gardeners avoid these seed-starting pitfalls! 🌱
If you have any questions, feel free to leave them in the comments section below!
Pin it for Later!